Crochet Mini Christmas Gift Bag Pattern
A festive drawstring pouch with a snowflake applique
About This Mini Christmas Gift Bag
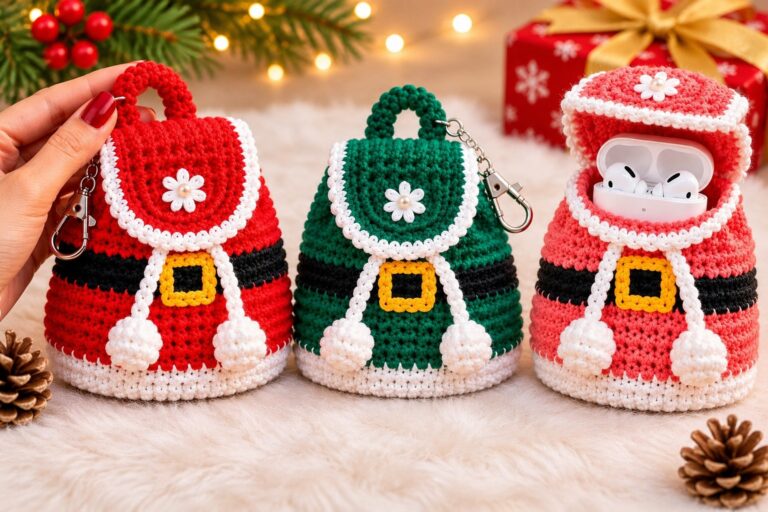
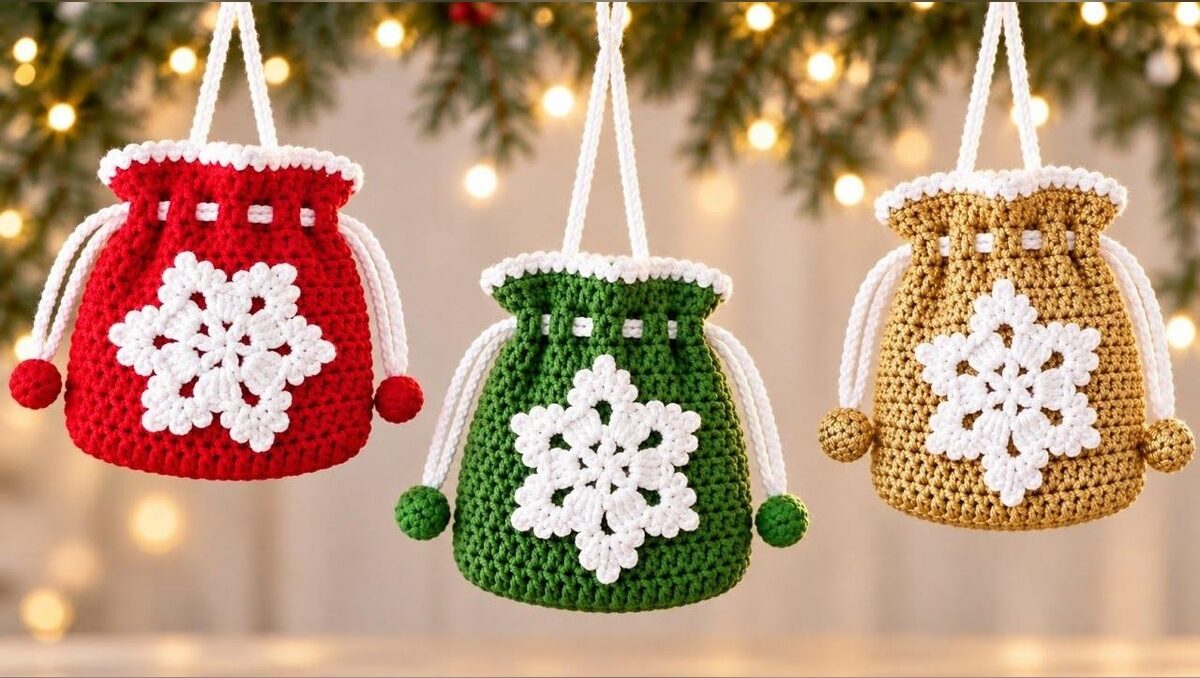
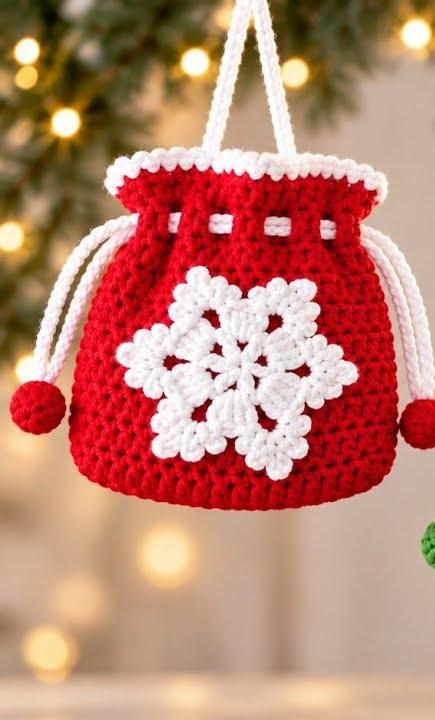
This crochet mini gift bag is a sweet handmade project for the holiday season. The pouch has a rounded base, a simple body worked in rounds, a drawstring closure, and a decorative snowflake applique. The video shows bags in festive colors and explains that the design can be customized with different decorations.
Use the finished pouch to present small gifts, candies, jewelry, or tiny ornaments. It can also work as a Christmas tree decoration or a handmade gift-wrap alternative. The body is made with cotton yarn, while the snowflake is worked separately with a smaller hook and attached at the end.
Materials
- Cotton yarn in a main color such as red, green, gold, or cream
- White yarn for the top edging and snowflake, or a contrasting color of your choice
- 2.50 mm crochet hook for the bag
- 2.20 mm crochet hook for the snowflake
- Scissors
- Yarn needle for weaving in ends and making a hidden join
- Optional small beads or pom-poms for the drawstring ends
- Craft glue for attaching the snowflake and optional pom-poms, as shown in the video
Crochet Abbreviations (US Terms)
- ch = chain
- sc = single crochet
- hdc = half double crochet
- dc = double crochet
- tr = triple crochet
- sl st = slip stitch
- inc = increase (2 stitches in the same space)
- MR = magic ring
- st(s) = stitch(es)
Finished Size and Customization
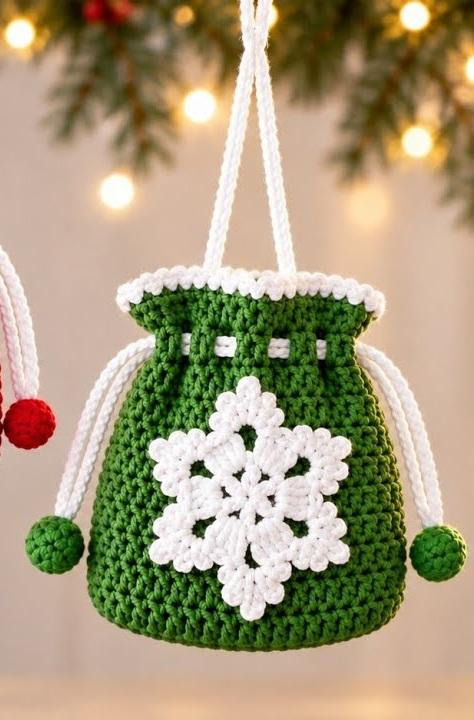
The transcript does not specify an exact finished measurement. The final size will depend on your yarn, hook, tension, and how many body rows you work. The creator makes 10 rows from the starting chain for the sample bag, but notes that you can continue the body to reach your preferred height.
1. Crochet the Base
Use the 2.50 mm hook and your chosen main color.
- Make a starting knot and ch 20.
- Starting in the 3rd chain from the hook, work 17 dc, one in each chain.
- Work 3 dc into the last chain.
- Turn the work so you can crochet along the opposite side of the starting chain.
- Starting at the top of the first chain on the underside, work 16 dc.
- Work 2 dc into the last chain.
- The transcript states that there are 39 dc in total. Join the row with a sl st into the top of the first stitch.
2. Build the Bag Body
Continue working in rounds to form the pouch walls.
- Ch 2. Starting in the top of the same stitch, work dc across all the stitches below. The transcript says there should be 39 dc including the starting chain.
- When you reach the turning point, continue with dc stitches on top of each stitch without adding extra stitches.
- Join the round with a sl st into the top of the first stitch.
- Ch 2 and work dc across all stitches again, following the same round structure.
- Continue in this way, raising the sides of the bag until you reach your desired height.
- For the sample shown in the tutorial, the creator works 10 rows from the starting chain.
- At the end of the final body row, join with a sl st, ch 1, and cut the yarn.
For a shorter pouch, stop after fewer rows. For a taller bag, continue repeating the body round until it is the height you want. Keeping the same stitch count around the body helps the sides stay even.
3. Add the Contrasting Top Edge
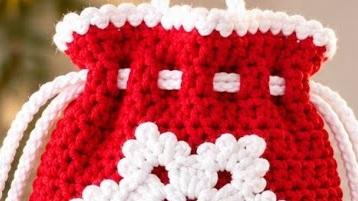
- Switch to white yarn, or another contrasting color.
- Attach the yarn at the top of any stitch or loop along the side.
- Work ch 1, then sl st into the top of the next loop.
- Repeat ch 1, sl st into the next loop around the entire top edge.
- After the last slip stitch, ch 1 and cut the yarn.
- Make a hidden join through the top of the first loop to finish the edging neatly.
4. Make the Drawstring Handles

The drawstrings close the pouch and also create a hanging loop when desired.
- Make two chains in the length you prefer.
- For the sample, the creator makes two sets of 75 chains.
- Attach the chains to the bag as demonstrated in the video.
- Add a bead or pom-pom to each end if you would like a decorative finish.
You can adjust the chain length to suit the size of your bag. Before tying off the ends, check that both sides are even and that the drawstring slides comfortably through the top loops.
5. Crochet the Snowflake Applique
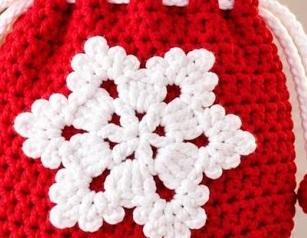
Use the 2.20 mm hook and white yarn for the snowflake shown in the sample.
- Begin with a magic ring.
- Ch 5. Make 1 dc into the ring.
- Ch 2, then make 1 dc into the ring.
- Continue around the ring until you have 6 dc in total, including the starting chain, with ch-2 spaces between the stitches.
- Ch 2 and join with a sl st into the top of the 3rd chain.
- Ch 2 and join with a sl st into the top of the 3rd chain as shown for the next part of the motif.
- Ch 2, then make 3 dc into the same space.
- Work 4 dc into each chain space around, with ch 2 between groups.
- At the end of the round, ch 2 and join with a sl st into the top of the first stitch.
Shape the snowflake points
- Make a sl st into the top of the next loop and then into the chain space.
- In that space, work the point sequence described in the tutorial: ch 3 and sl st, ch 4 and sl st, ch 5 and sl st, ch 4 and sl st, then ch 3 and sl st.
- Make a sl st into the top of the 3rd crochet stitch from the bottom, then move into the next chain space.
- Repeat the same point sequence in that space.
- Continue around the snowflake, repeating the point sequence in the remaining spaces.
- After the final sl st, ch 1, cut the yarn, and make a hidden join through the top of the first loop.
6. Attach the Snowflake and Finish
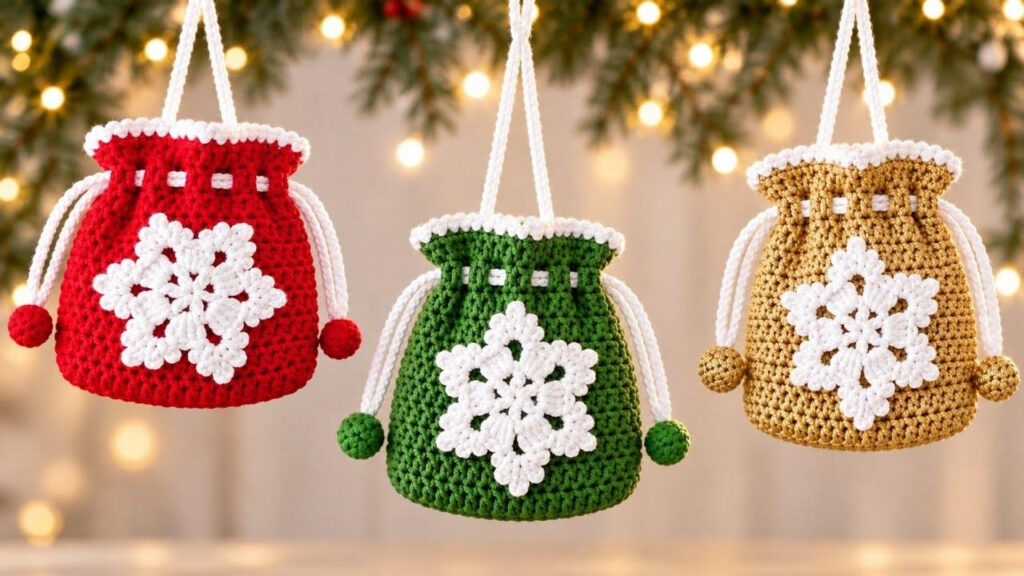
- Position the snowflake on the front of the bag and center it before attaching.
- Use a small amount of craft glue to attach the snowflake, following the video demonstration.
- Attach pom-poms to the drawstring ends if desired.
- You can replace the snowflake with other small holiday decorations, such as a Santa motif, hat, gloves, Christmas tree, or wreath.
- Weave in any loose yarn ends and check that the top edging and drawstrings are secure.
Festive Color Ideas
Classic Christmas
Red yarn with white edging and a white snowflake.
Evergreen Gift Bag
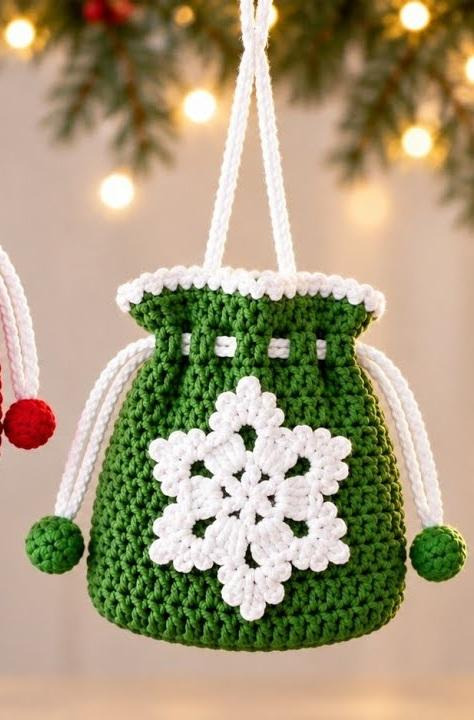
Deep green yarn with white edging and a white snowflake.
Golden Holiday
Gold or mustard yarn with white edging for a warm, elegant look.
Winter White
Cream yarn with a red or green snowflake for a high-contrast finish.
Candy Cane Style
White yarn with red edging and a red decorative motif.
Creative Ways to Use Your Mini Gift Bag
- Fill it with wrapped candies or other small treats.
- Use it as reusable gift packaging for jewelry or small handmade gifts.
- Hang it on the Christmas tree as a decorative pouch.
- Make several bags in different colors for a coordinated holiday display.
- Personalize each bag with a different applique to match the recipient or occasion.
Tips for a Neat Finish
- Keep the base stitches even so the pouch sits smoothly.
- Use the same stitch tension throughout the body rows to avoid a bag that flares unexpectedly.
- Check the bag height before finishing the final row.
- Make both drawstrings the same length if you want the bag to close evenly.
- Center the snowflake before gluing it in place.
- Use only a small amount of glue and allow it to dry fully before handling the bag.
Frequently Asked Questions
Can I use a different yarn?
Yes. The tutorial uses cotton yarn, but you can choose a suitable yarn you already have. The finished size and texture may change.
Can I make the bag taller?
Yes. The creator explains that you can keep repeating the body rows until the bag reaches your preferred height.
Do I need to add pom-poms?
No. Pom-poms or beads are optional decorations for the drawstring ends.
Can I change the applique?
Yes. The creator suggests alternatives such as Santa Claus, a hat, gloves, a Christmas tree, or a wreath.
Which hook sizes are used?
The tutorial uses a 2.50 mm hook for the bag and a 2.20 mm hook for the snowflake.
Final Thoughts
This mini Christmas gift bag is a practical way to make holiday wrapping feel more personal. Once you know the basic pouch shape, you can change the color, height, drawstring length, and front decoration to suit different gifts. Make a small collection in coordinating colors for a festive handmade set.