
Crochet Spooky Doll Keychain Pattern
A tiny handmade Halloween doll with yarn hair and wooden bead details
About This Crochet Spooky Doll
This spooky doll keychain is a small Halloween crochet project measuring approximately 10 cm (about 4 inches), according to the video introduction. It combines a crocheted dress and hair with wooden beads used for the head, arms, and legs. The finished doll can be used as a seasonal bag charm, a handmade gift, or a cute accessory for someone who enjoys Halloween crafts.
The tutorial uses 3-ply yarn, a 2.5 mm crochet hook, a 2.0 mm crochet hook, and 8 mm wooden beads. The sample shown has a black outfit and black hair, with a light-colored face and small pink details. The suggested color options below are visual ideas only; they do not change the crochet sequence.
Materials
- 3-ply yarn in the chosen outfit and hair colors
- A small amount of yarn for the face and decorative details
- 2.5 mm crochet hook
- 2.0 mm crochet hook
- 8 mm wooden beads for the head, arms, and legs
- Yarn needle and scissors
- A small amount of suitable craft glue for assembly, as shown in the video
- Optional keychain ring or clasp, if you want to attach the doll to keys or a bag
Crochet Abbreviations (US Terms)
- ch = chain
- sc = single crochet
- hdc = half double crochet
- dc = double crochet
- tr = triple crochet
- sl st = slip stitch
- inc = increase (2 stitches in the same space)
- dec = decrease (work 2 stitches together)
The reference image also shows UK terminology. UK and US crochet terms can differ, so follow the US terms used in this article and in the supplied transcript.
Finished Size and Project Notes
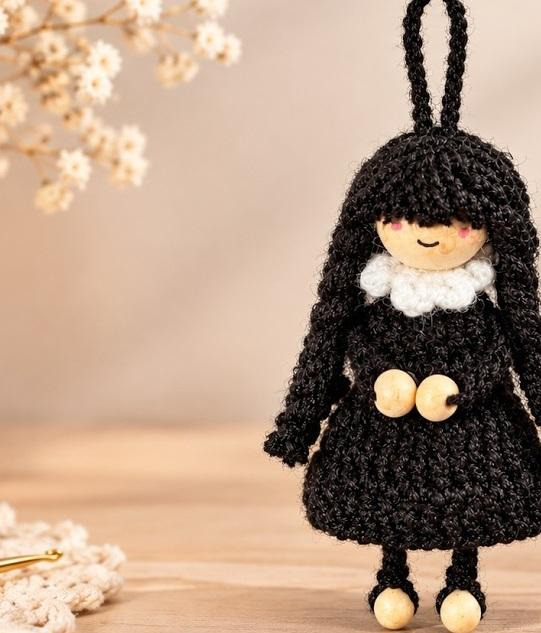
The creator describes the finished doll as approximately 10 cm tall. This is an approximate size rather than a guaranteed measurement: yarn thickness, hook choice, and personal tension can affect the result. The tutorial is presented as a fun and easy project, but the hair-finishing stage may take more patience than the crochet itself.
1. Crochet the Small Ring and Chain Detail
The transcript begins with a small ring and a repeated chain detail before moving to the dress instructions. The on-screen repeat referenced by the narrator is not included in the supplied transcript, so this step needs to be checked against the video rather than reconstructed from guesswork.
- Make a slip knot and use the 2.5 mm hook.
- Ch 6, then join with a sl st in the first chain to form a circle.
- The narrator says to repeat the sequence displayed in the top-left corner eight times, then lists ch 4 and 1 sc three times before fastening off.
- Hide the yarn tails.
2. Crochet the Doll’s Dress
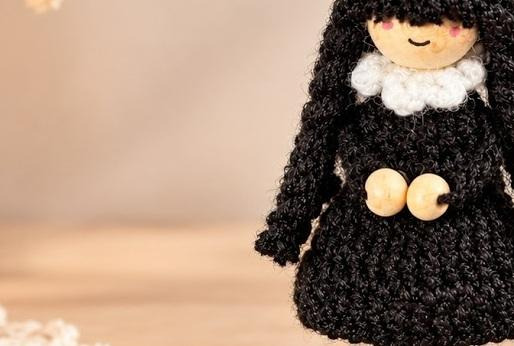
The transcript gives the dress as a circular piece worked with the 2.5 mm hook. Keep the joining slip stitches neat so the rounds are easy to identify.
- Make a slip knot and ch 6.
- Join with a sl st in the first chain to form a circle.
- Round 1: in the circle, make 1 hdc plus ch 2; count these as the first stitch. Then make 5 tr.
- Ch 2, then make 6 tr.
- Ch 2, then make 6 tr.
- The tutorial states that Round 1 has 12 stitches. Join with a sl st on top of the first stitch.
- Round 2: in the same space, make 1 hdc plus ch 2; count these as the first stitch. Make 5 tr, then 1 tr in the space as demonstrated, followed by 6 tr.
- Make 1 tr in the next space as shown. The transcript states that Round 2 has 14 stitches. Join with a sl st on top of the first stitch.
- Round 3: in the same space, make 1 hdc plus ch 2; count these as the first stitch. Make 1 tr in the same space.
- In each of the next 13 stitches, work 2 tr (an increase). The tutorial states that Round 3 has 28 stitches. Join with a sl st on top of the first stitch.
- Round 4: in the same space, make 1 hdc plus ch 2; count these as the first stitch. Then make 27 tr for 28 stitches total. Join with a sl st and fasten off.
- The creator notes that the two-chain spaces are used to insert the doll’s arms.
3. Make the Doll’s Body, Arms, and Legs
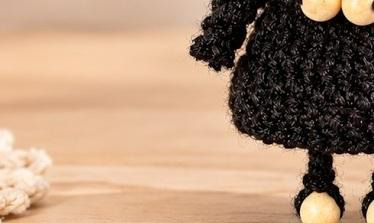
This part uses the smaller 2.0 mm hook and 8 mm wooden beads. The beads are threaded onto the yarn before the chain-and-slip-stitch sections are worked.
- With the 2.0 mm hook, thread the 8 mm wooden beads onto the yarn.
- Make a slip knot and ch 6.
- Join with a sl st in the first chain to form a circle.
- Ch 35, then return to the circle and make 1 sc.
- Ch 10. Add a bead, then starting in the second chain from the hook, make 9 sl sts.
- Return to the circle and make 1 sc.
- Ch 20. Add a bead, then starting in the second chain from the hook, make 19 sl sts.
- Return to the circle and make 1 sc.
- Ch 20. Add a bead, then starting in the second chain from the hook, make 19 sl sts.
- Return to the circle and make 1 sc.
- Ch 10. Add a bead, then starting in the second chain from the hook, make 9 sl sts.
- Return to the circle and make 1 sc, then fasten off.
4. Attach the Head
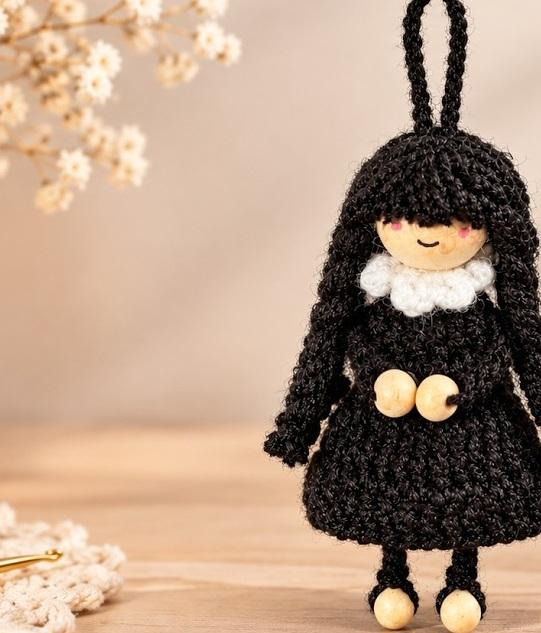
- Use a very small amount of hot glue to attach the head, as shown in the video.
- Apply glue carefully and avoid touching hot glue or the glue-gun tip with your fingers.
- Hold the pieces in position until they are secure, then check that the doll hangs straight.
Safety note: hot glue can cause burns. Work on a protected surface and allow the glue to cool before handling the joined parts.
5. Make and Attach the Doll’s Hair
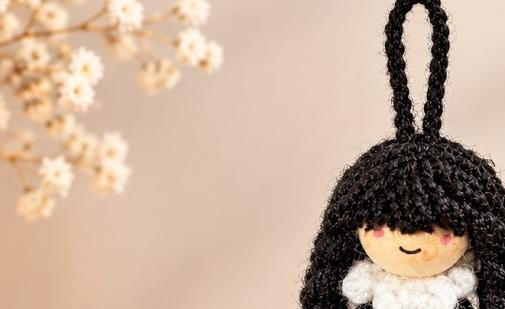
The creator notes that the hair takes patience and has a big effect on the doll’s final appearance. Take your time when arranging the strands so the hair frames the face evenly.
- Wrap the yarn around your hand approximately 25 times.
- Use a separate piece of yarn to tie the strands together at the top.
- Cut the strands at the bottom.
- Use small amounts of glue to secure the strands to the head, following the video demonstration.
- Leave the hair as it is, or tie it into pigtails.
- To create bangs, trim five to six strands at the front to the desired length.
Before trimming, hold the strands against the doll’s face and check the length. Cut a little at a time, because removing too much yarn cannot easily be reversed.
Color Variations and Styling Ideas
The pictured doll uses a dark outfit and hair, which gives it a spooky Halloween appearance. You can keep that classic look or make a softer version with a different outfit color. For example, deep purple, charcoal gray, burgundy, or forest green could work well for the dress while the hair stays black. These are optional styling ideas only and do not alter the stitch instructions.
- Classic spooky doll: black dress and black hair.
- Witch-inspired palette: deep purple dress with black hair.
- Autumn palette: burgundy or rust-colored dress with dark hair.
- Soft gothic style: charcoal dress with small pink or cream details.
Tips for a Neat Finish
- Keep the chain sections and slip stitches consistent so the small details stay tidy.
- Use the smaller hook for the bead-and-chain section, as specified in the tutorial.
- Arrange the hair before gluing it permanently in place.
- Use only a small amount of hot glue to reduce visible glue marks.
- Check the doll from the front and side before finishing, making sure the head and body look aligned.
- Weave in loose yarn tails and trim excess strands carefully.
Frequently Asked Questions
How tall is the finished doll?
The video introduction describes it as approximately 10 cm tall. Your finished size may vary depending on yarn and tension.
What yarn and hooks are used?
The creator uses 3-ply yarn with 2.5 mm and 2.0 mm crochet hooks.
What size are the wooden beads?
The transcript specifies 8 mm wooden beads.
Can I change the dress color?
Yes. The tutorial says the project can be customized; color suggestions in this article are optional and do not change the stitch sequence.
Is the hair difficult?
The creator says the hair is more painstaking than the crochet itself. Taking time to arrange the strands can help the final look.
Can I use it as a bag charm?
The tutorial presents it as a keychain and mentions adding a spooky touch to a bag. Add or secure a suitable keychain ring or loop if needed; the transcript does not give a detailed keyring-attachment pattern.
Final Thoughts
This spooky doll keychain is a small Halloween project with plenty of room for personal styling. The crochet sections, wooden bead details, and yarn hair come together to create a charming handmade character. Follow the linked video tutorial as you work, then personalize the finished doll with your favorite colors and hairstyle.