Crochet Christmas Star Ornament Pattern
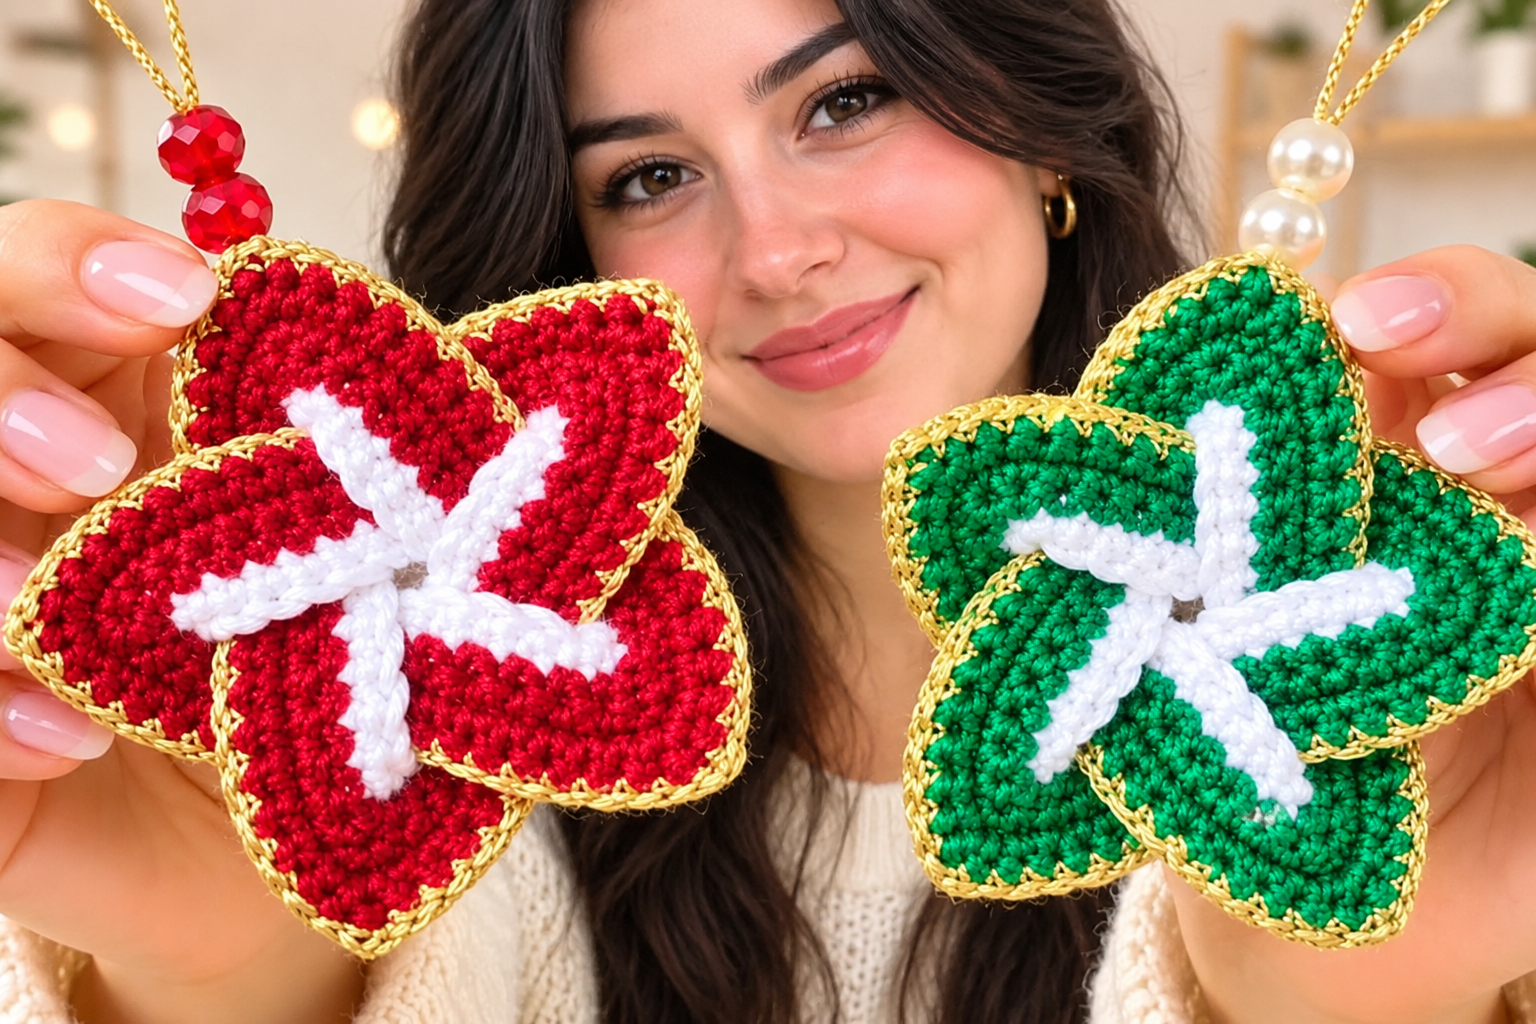
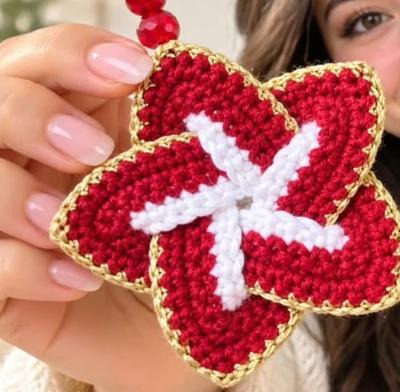
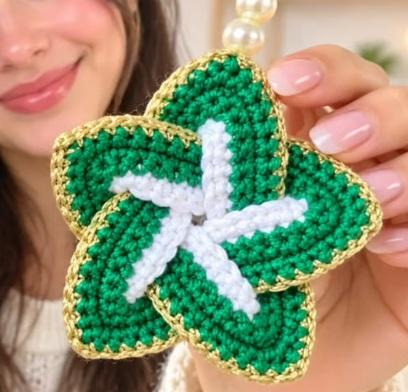
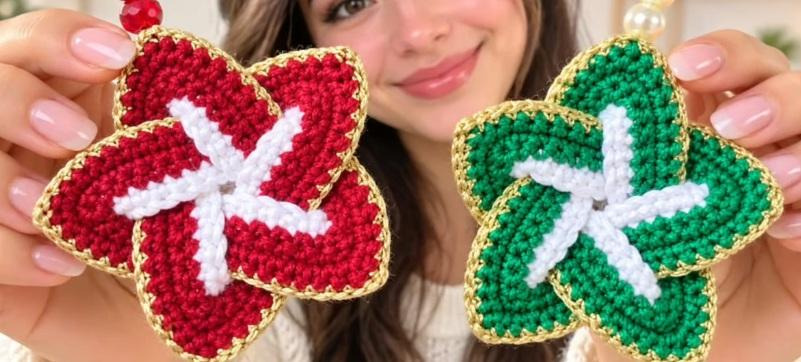
A colorful handmade star with layered points and a sparkling hanging loop
About This Crochet Christmas Star
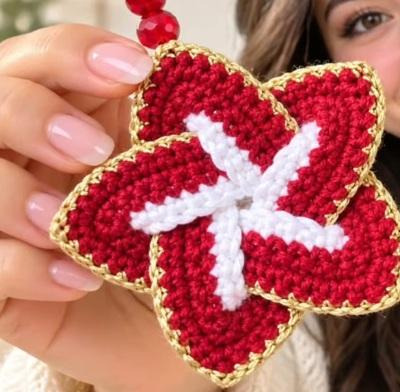
These crochet Christmas stars make cheerful handmade decorations for the holiday season. The sample shows a red star and a green star, each with a white star-shaped center, gold edging, and a hanging cord decorated with beads. The tutorial builds the star from a long foundation chain, shapes the points with increases, adds a decorative final round, and then folds and stitches the piece into a dimensional star.
You can customize the colors to match your tree, gift wrapping, or holiday décor. Red, green, white, and gold create a traditional Christmas palette, but the same idea can be adapted with silver, cream, blue, or other festive shades.
Materials
- Yarn or cord in the main star color
- White yarn or cord for the decorative center
- Gold yarn or cord for the final edging
- 3 mm crochet hook for the main section
- A larger hook for the final color section if needed to prevent tight stitches
- Scissors and a yarn needle
- Optional decorative beads or small stones for the hanging loop
Abbreviations (US Terms)
- ch = chain
- sc = single crochet
- dc = double crochet
- sl st = slip stitch
- st(s) = stitch(es)
- sp = space
Project Overview
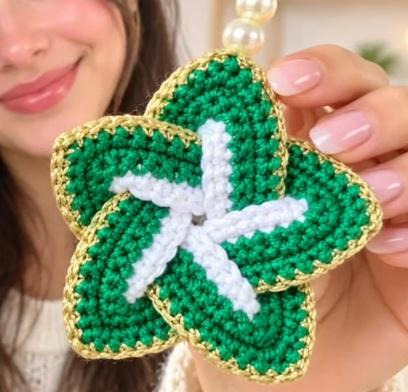
The star is worked in several color sections. The first section begins with 50 chains and uses groups of single crochet stitches to create the foundation shape. The following color section increases the stitch groups along the points. A later row uses wider point sections, and the final color adds a decorative edging. After crocheting, the piece is folded into a star shape, stitched together, and finished with a hanging cord and optional beads.
1. Make the Foundation Chain and First Color Section
Use the 3 mm hook and your first yarn color.
- Make a starting knot and ch 50.
- Ch 1 more, then begin in the second chain from the hook.
- Work 5 sc in the next space as described in the tutorial.
- Work 3 sc into the next space.
- Work 9 sc, one in each space.
- Work 3 sc into the next space, then work 9 sc again.
- Continue the sequence of 3 sc in one space followed by 9 sc until the repeated point sections are complete.
- After the final group of 3 sc, finish the round with 4 sc.
- Change to the next color at the end of the section.
2. Work the Second Color Section
- Join the new color with a chain and make 1 sc in the same space.
- Work 1 sc in the next space, keeping the yarn tails tucked in as you go.
- Work 3 sc in the next space.
- Work 11 sc, one in each space, then make 3 sc in the next space.
- Repeat the sequence of 11 sc followed by 3 sc in the same space around the star.
- After the final point group, finish the section with 6 sc.
- Ch 1 and turn for the next row.
3. Shape the Star Points
The next rows build the star’s pointed outline. The tutorial increases the number of stitches between point increases as the shape develops.
- Work across the row until the eighth stitch, then make 3 stitches in the same stitch to form a point.
- Work 13 sc, then make 3 sc in the next stitch.
- Repeat the sequence of 13 sc followed by 3 sc in one stitch across the remaining points.
- Finish the row with 6 sc, then ch 1 and turn.
- For the following row, work 7 sc, then 3 sc in the next stitch.
- Work 15 sc, then make 3 sc in the next stitch.
- Repeat the sequence of 15 sc followed by 3 sc in the same stitch around the remaining points.
- Finish the row with 8 sc and prepare for the final color change.
4. Add the Final Decorative Color
The tutorial switches to a different material for the last color section and uses a larger hook so the edging does not become too tight. This round creates small chain-and-slip-stitch details along the star outline.
- Join the final color with a chain and 1 sc.
- Continue with sc along the edge, following the tutorial’s spacing.
- At the tenth stitch, make 1 sc and ch 1; make a sl st into the loop formed by the chain and stitch.
- Continue along the edge until the next point section, then repeat the sc, ch-1, and sl-st detail.
- Repeat this decorative sequence around the remaining points.
- Continue until the entire edge has been completed.
5. Fold and Stitch the Star Shape
- Begin at one point and fold the crocheted piece to form a triangle.
- Pass the neighboring section through the opening as demonstrated, forming the next point.
- Continue folding and threading the sections until the star outline takes shape.
- Adjust each point so the star looks balanced.
- Use a strand of yarn to sew the sections together at the back, passing from one side to the other.
- Hide the yarn tail and gently adjust the points to create an even outline.
6. Add the Hanging Loop and Beads
To turn the star into a Christmas ornament, add a hanging cord at the top. The sample uses decorative beads above the star, but this finishing detail can be kept simple or customized.
- Pass a length of yarn or cord through the top point.
- Tie a secure knot to create the hanging loop.
- Add optional beads or small decorative stones above the star.
- Check that the loop is centered and secure before hanging the ornament.
Color Combinations to Try
- Classic Christmas: red, white, and gold.
- Evergreen: green, white, and gold.
- Winter sparkle: white, silver, and pale blue.
- Warm neutral: cream, gold, and beige.
- Candy-inspired: red and white with a contrasting edging.
Ways to Use Your Crochet Star
- Hang it on a Christmas tree.
- Use it as a handmade gift topper.
- Add it to a holiday wreath or garland.
- Make matching stars for a coordinated tree theme.
- Attach one to a seasonal gift bag or decorative package.
Tips for a Neat Finish
- Keep your tension even across the long foundation chain.
- Count the stitch groups as you work so the points stay balanced.
- Use a larger hook for the final material if the stitches feel too tight, as shown in the tutorial.
- Fold the star slowly and adjust the points before sewing the back closed.
- Secure the hanging loop and any beads firmly before displaying the ornament.
Frequently Asked Questions
What hook size is used?
The tutorial starts with a 3 mm hook and switches to a larger hook for the final color section if needed.
Can I change the colors?
Yes. The creator explains that you can use whichever color combinations you prefer.
Do I need to add beads?
No. Beads or small stones are optional finishing decorations.
How is the star shape made?
The crocheted piece is folded into points and stitched together at the back.
Where can I use the finished star?
It can be used as a Christmas tree ornament, gift topper, or part of a festive garland or wreath.
Final Thoughts
These crochet Christmas stars are a fun way to add handmade detail to holiday decorating. Choose colors that suit your style, take care when shaping the points, and finish with a secure hanging loop for a decoration you can enjoy year after year.