Crochet Santa Claus AirPods Case Pattern
A festive mini pouch with a Santa-inspired flap and colorful belt
A Cute Christmas AirPods Case
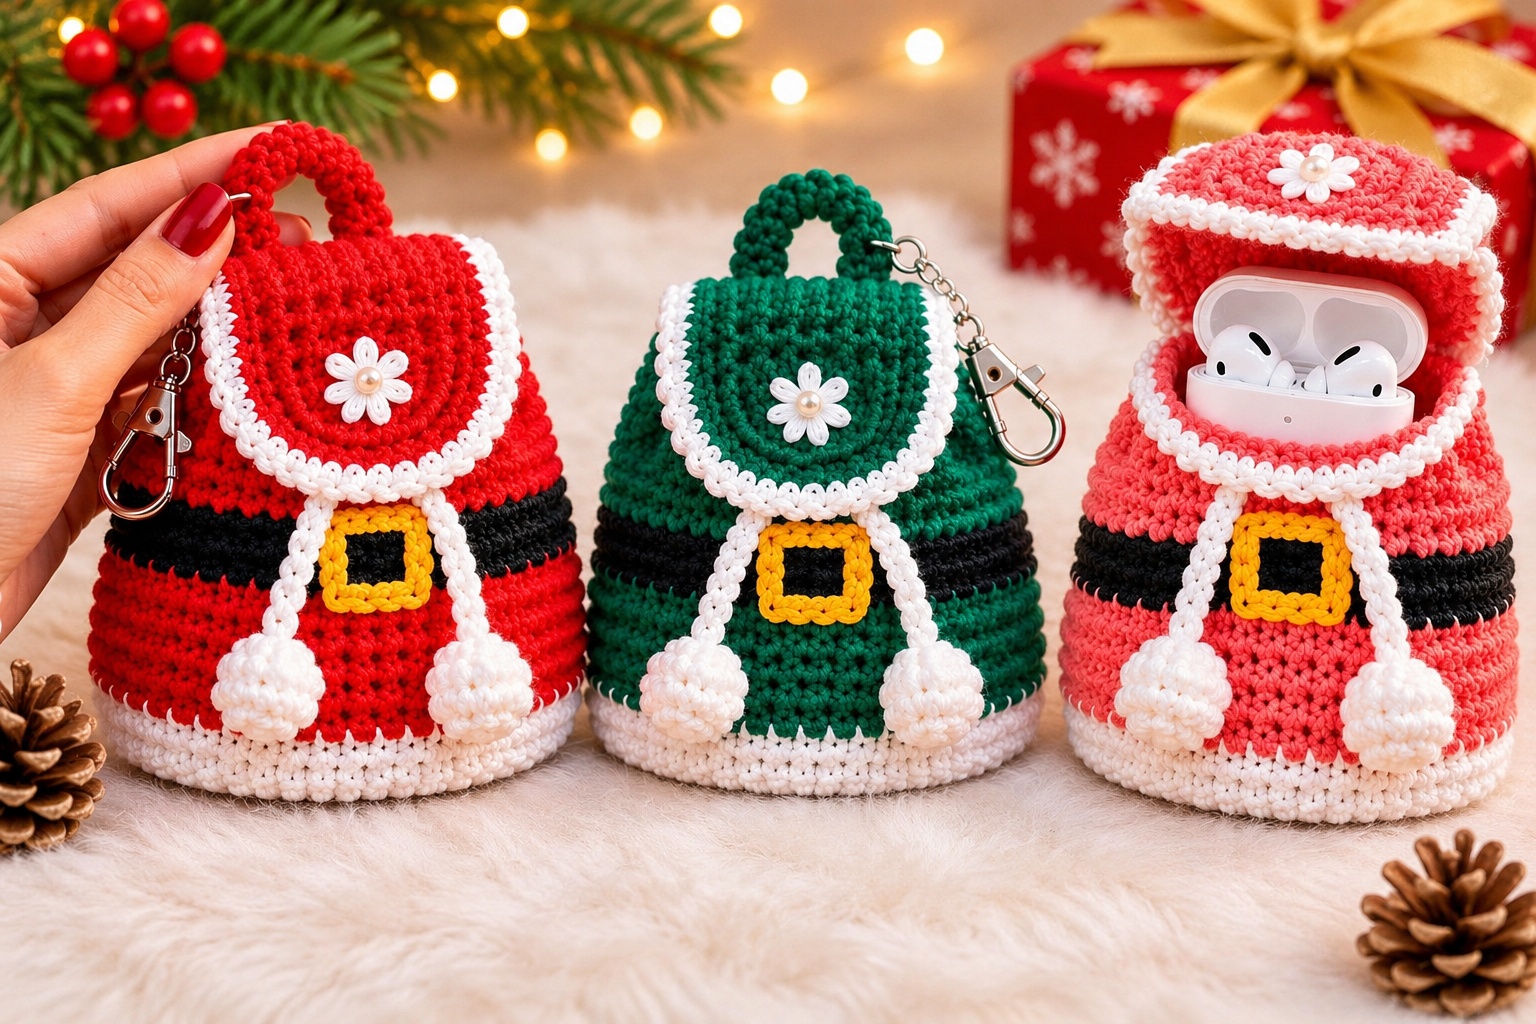
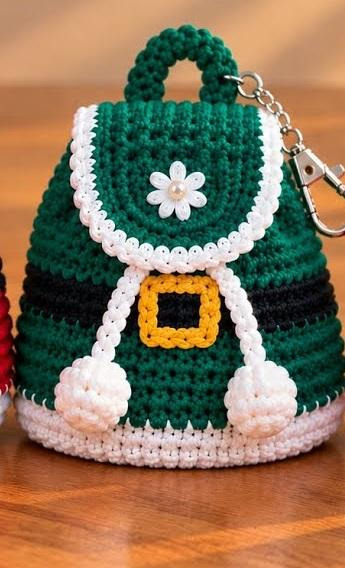
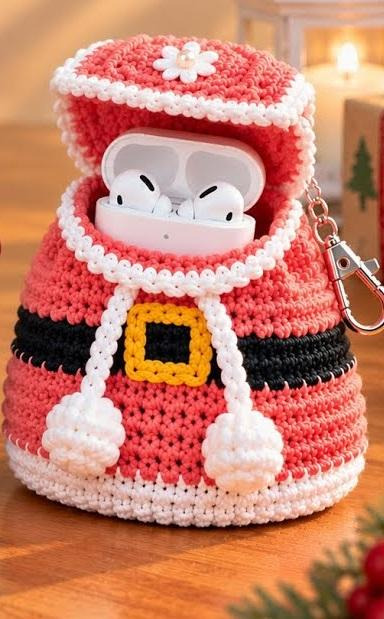
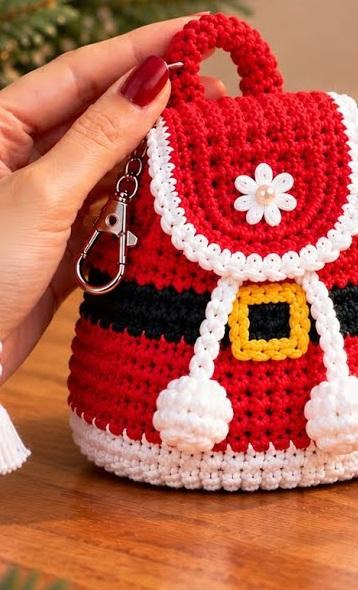
Give your earbuds a festive handmade cover with this crochet Santa AirPods case. The design has a rounded pouch shape, a contrasting flap edged in white, a dark belt stripe, and a bright buckle detail. The sample shown in the product image includes traditional red, evergreen, and pink color variations, so you can make one that suits your holiday style.
This festive project combines an oval base, a rounded pouch body, a separate front flap, and a chain strap. Color changes create the holiday bands, while the white trim and buckle complete the Santa-inspired design. For a visual guide to shaping, assembly, and finishing, follow the video tutorial linked above.
Materials
- 2.5 mm crochet hook
- Yarn in your chosen main color (such as red, green, or pink)
- Black yarn for the belt stripe
- White yarn for the edging and decorative details
- Yellow yarn for the buckle
- Small decorative flower or embellishment, if desired
- Scissors and yarn needle
- Your AirPods charging case
Abbreviations (US Terms)
- ch = chain
- sl st = slip stitch
- sc = single crochet
- hdc = half double crochet
- dc = double crochet
- st(s) = stitch(es)
Pattern Overview
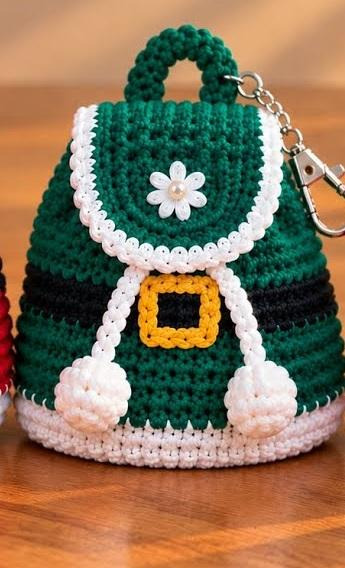
The tutorial uses double crochet for the oval base and half double crochet for the main body. The color changes create the decorative bands. Keep the tension consistent so the pouch is firm enough to hold its shape while still allowing the charging case to slide in and out.
1. Crochet the Oval Base
Use the 2.5 mm hook and your main yarn color.
- Make a slip knot and ch 8.
- Round 1: Starting in the third chain from the hook, work 5 dc.
- Work 6 dc into the last chain.
- Continue along the opposite side of the foundation chain and work 4 dc.
- Work 5 dc into the last stitch, then sl st to the first stitch to join.
- Round 2: Ch 2, then work 2 dc into the same stitch.
- Work 4 dc, then 2 dc in each of the next 6 stitches.
- Work 4 dc, then 2 dc in each of the next 5 stitches.
- Change color and sl st to the first stitch to join the round.
The increases at both ends of the foundation chain shape the base into an oval. Try to keep the stitches even around the curved ends, as this foundation determines the shape of the finished pouch.
2. Build the Pouch Body with Color Bands
- Rounds 3–5: Ch 2 and work 1 hdc in each stitch around [32]. Repeat for 3 rounds.
- Change color and join with a sl st to the first stitch.
- Rounds 6–7: Ch 2 and work 1 hdc in each stitch around [32]. Repeat for 2 rounds.
- Change color and join with a sl st to the first stitch.
- Rounds 8–13: Ch 2 and work 1 hdc in each stitch around [32]. Repeat for 6 rounds.
The three color sections create the pouch’s decorative bands. Follow the color sequence shown in the video, or choose your own combination for a personalized holiday look.
3. Crochet the Front Flap
The flap is worked separately in rows, beginning with a foundation chain.
- Make a slip knot and ch 11.
- Starting in the third chain from the hook, work 8 hdc.
- Work 5 hdc into the last chain.
- Continue along the opposite side of the chain and work 8 hdc.
- Ch 2 and turn. Work 8 hdc, then 2 hdc in each of the next 5 stitches, followed by 8 hdc.
- Change color in the last stitch.
- Ch 2 and turn. Work 8 hdc, then repeat (1 hdc, 2 hdc in the next stitch) 5 times, followed by 8 hdc.
The rounded end of the flap is shaped by working multiple half double crochet stitches into the same stitch. Keep the edges smooth and check that the flap is wide enough to cover the front opening of the pouch.
4. Make a Small Decorative Detail
- Make a slip knot and ch 12.
- Join with a sl st to the first chain to form a small ring.
- Ch 1 and work 2 sc.
- In the same stitch, work (1 sc, ch 1, 1 sc).
- Repeat [2 sc, (1 sc, ch 1, 1 sc) in the same stitch] 3 times.
- Join with a sl st to the first stitch.
This small decorative piece can be used as a flower-like accent on the flap. The product photo shows a tiny white flower with a contrasting center; you can choose a similar embellishment or keep the flap simple.
5. Add the Strap or Hanging Chain
Finish the pouch with the long chain strap shown in the video tutorial.
- Ch 62, then work 60 hdc.
- Make an additional ch 45 section, following the video for placement and attachment.
Attach the chain section securely to the pouch as shown in the video tutorial.
6. Finish the Santa Details
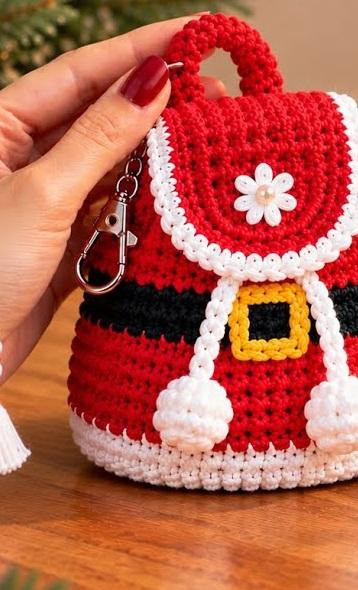
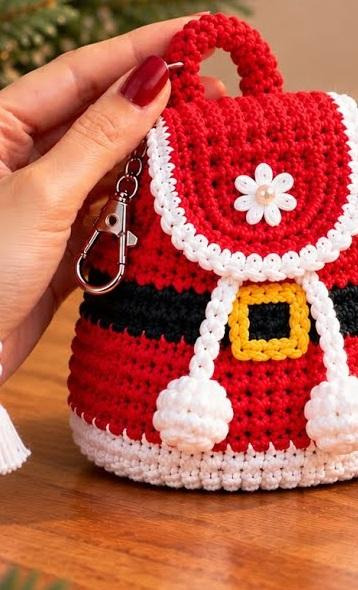
The product image shows several finishing details that give the pouch its Santa-inspired appearance. Use white yarn to add edging around the flap and the lower edge, and add a white decorative trim or hanging detail at the front. A black stripe creates the belt, while a yellow square forms the buckle.
- Position the flap over the front of the pouch and sew or attach it neatly.
- Add the white edging around the flap, following the edge evenly.
- Add the dark belt stripe around the body if it has not already been created by the color changes.
- Make and attach a small yellow buckle at the center front.
- Attach the decorative flower or embellishment to the flap, if desired.
- Weave in all yarn ends and check that the flap opens and closes comfortably.
Color Ideas
- Classic Santa: red, white, black, and yellow.
- Evergreen holiday style: deep green, white, black, and gold-yellow.
- Soft Christmas palette: coral pink, white, black, and mustard.
- Personalized version: use the recipient’s favorite color for the main pouch and keep the white trim for contrast.
Tips for a Neat, Useful Case
- Keep the oval base flat; if it cups, check your tension and stitch placement.
- Count the 32 stitches around the body rounds so the pouch stays even.
- Keep the flap centered over the opening so it covers the case neatly.
- Secure the handle and decorative pieces with strong, tidy stitches.
- Avoid bulky yarn tails inside the pouch, where they could catch on the charging case.
Frequently Asked Questions
What hook size is used?
Use a 2.5 mm crochet hook.
Can I change the colors?
Yes. The product image shows red, green, and pink versions, so the main color can be customized.
Where can I follow the full assembly?
Follow the linked video tutorial for a visual guide to assembling and finishing the pouch.
What stitch is used for the main body?
The main body is worked in half double crochet, with color changes between sections.
Can I use it as a small gift?
Yes. The Santa styling makes it a festive handmade gift or stocking-stuffer idea.
Final Thoughts
This crochet Santa AirPods case combines a practical little pouch with cheerful holiday details. The oval base, simple body rounds, and rounded flap create the foundation, while the color bands, white edging, and buckle bring the Christmas character to life. Choose your favorite holiday colors and enjoy making a useful handmade accessory for the season.