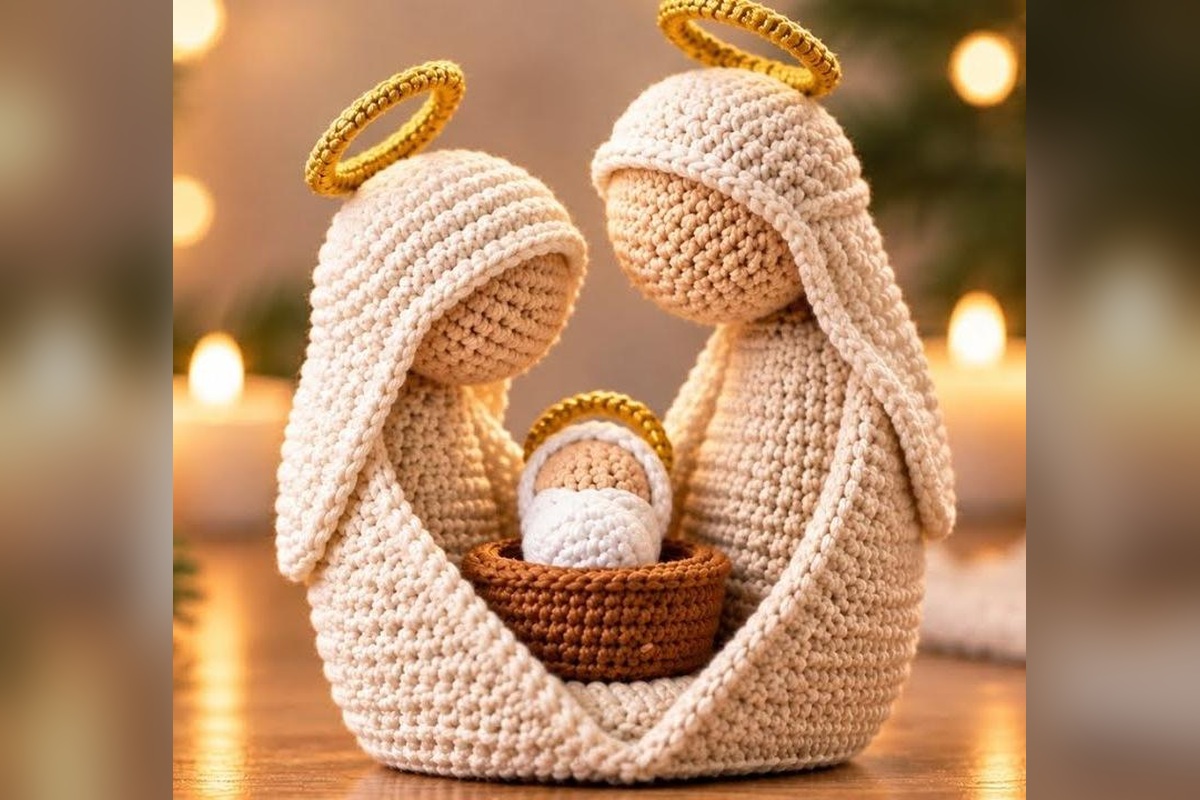
Crochet Holy Family Nativity Ornament Pattern
A handmade Christmas scene featuring Mary, Joseph, and Baby Jesus
About This Project
Create a meaningful handmade Christmas decoration with this crocheted Holy Family nativity scene. The minimalist design brings together Mary, Joseph, and Baby Jesus on a small round base. Soft cotton yarn gives the figures a warm texture, while the mantles and golden halos complete the traditional look.
The creator uses natural or skin-tone yarn for the heads, cream for the mantles, white for Baby Jesus, and brown for the basket. Flexible wire is crocheted over to shape the mantle edges, and small rings or wire can be used to form the halos.
Materials
- Semi-thick cotton yarn in cream, natural/skin tone, white, and brown
- Optional gold yarn for the halos
- 2.5 mm crochet hook
- Flexible craft wire, doubled if very thin
- Round base about 8 cm in diameter: sturdy cardboard, foam board, or a suitable alternative
- Small rings about 3 cm in diameter for halos, or wire to shape them
- Yarn needle, scissors, and stitch marker
- Hot glue or suitable craft adhesive for assembly
Abbreviations (US Terms)
- MR = magic ring
- ch = chain
- sc = single crochet
- sl st = slip stitch
- inc = increase (2 sc in the same stitch)
- BLO = back loop only
- st(s) = stitch(es)
Finished Project
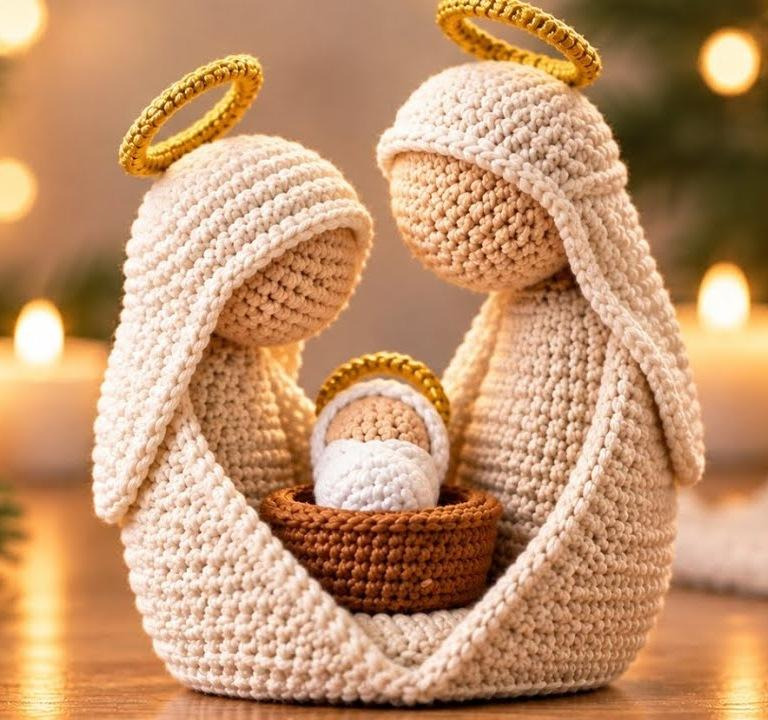
The project is made from separate crocheted pieces. Mary and Joseph have shaped bodies and mantles, Baby Jesus rests in a small basket, and the completed figures are arranged on a round base. The halos are covered with yarn and attached above the heads.
1. Crochet the Base for Mary
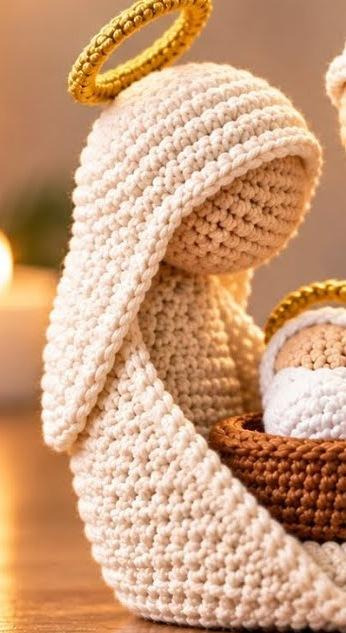
- Make a magic ring and ch 1 to secure it. Work 6 sc into the ring and pull the tail closed.
- Round 2: inc in every stitch around [12].
- Round 3: repeat (1 sc, 1 inc) around [18].
- Round 4: repeat (2 sc, 1 inc) around [24].
- Round 5: repeat (3 sc, 1 inc) around [30].
- Round 6: repeat (4 sc, 1 inc) around [36].
- Round 7: repeat (5 sc, 1 inc) around [42].
- Round 8: repeat (6 sc, 1 inc) around [48].
- Round 9: repeat (7 sc, 1 inc) around [54].
- Round 10: repeat (8 sc, 1 inc) around [60].
- Join only the first round with a slip stitch. From Round 2 onward, work in amigurumi style and use a stitch marker.
Check the completed circle against the 8 cm base you plan to use. The crochet circle should fit the base neatly.
2. Shape Mary’s Body
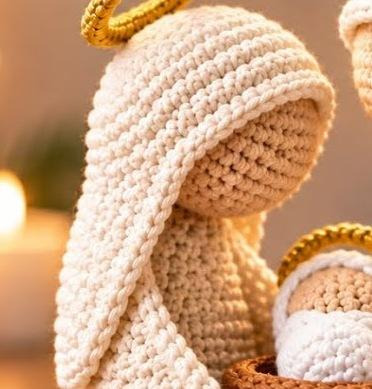
- Ch 1, turn, and pick up 30 sc through the back loop only across the circle.
- For the first 8 rows, work sc across but skip the last stitch at the same edge. Turn without a turning chain and begin in the next stitch.
- Keep the marked edge consistent so the shaping remains on one side for these rows.
- After 8 rows, begin decreasing at both edges by skipping the final stitch, turning without a chain, and starting in the second stitch of the next row.
- Continue decreasing on both sides until 6 sc remain.
- Work 2 short rows of 6 sc each, using a turning chain between rows. Fasten off and remove stitch markers.
This shaping creates the tapered body and neck area. Keep the straight side and shaped side oriented correctly for assembly.
3. Make Joseph’s Body
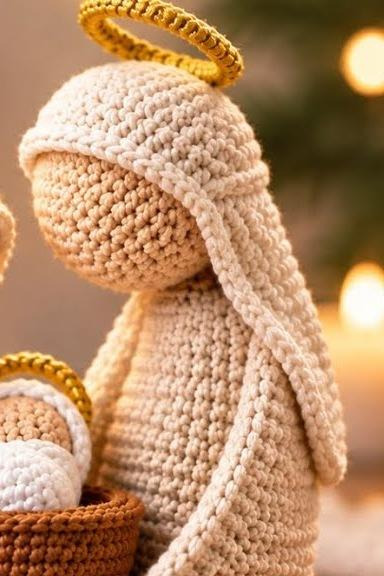
Joseph follows the same body-shaping process as Mary, with a wider starting edge.
- Make a matching circular base with 60 sc around.
- Pick up 40 sc through the back loops to begin Joseph’s body.
- Work the first 8 rows with one decrease at the same edge.
- Then decrease at both edges until 6 stitches remain.
- Work 2 short rows of 6 sc each to form the neck area, then fasten off.
4. Neaten the Edges with Wire
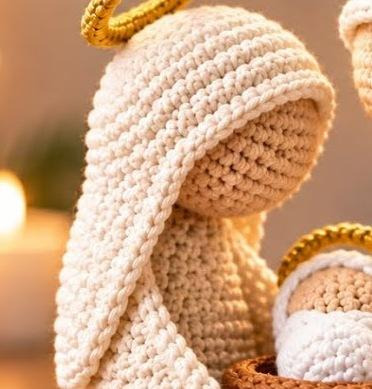
- Join the yarn at the corner where the straight edge begins and ch 1 to secure it.
- Bring the flexible wire into the work, doubling it if needed for strength.
- Work sc neatly around the entire edge, crocheting over the wire so it is covered.
- The creator works 22 sc along the first long edge, then works across the 6 sc at the neck and continues around the remaining edge.
- Finish with a sc at the base and a sl st into the next stitch.
- Cut the yarn and wire, shape the edge gently, and hide the yarn tails.
5. Crochet the Heads
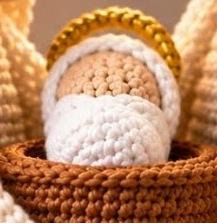
The tutorial describes the heads as simple amigurumi shapes.
- Start with a magic ring and 6 sc.
- Work increase rounds until the head reaches 36 sc.
- Work straight rounds while maintaining 36 sc.
- Make decreases to shape and close the head, then fasten off with a tail for attaching.
Fold the neck area slightly for a secure fit. Apply a small amount of hot glue, position the head, and hold it until the adhesive sets.
6. Make Joseph’s Mantle
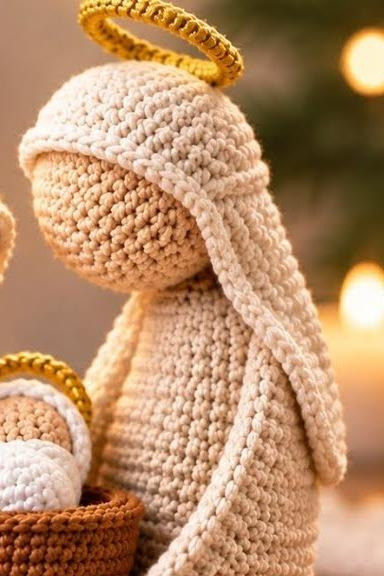
- Start with a magic ring and 6 sc.
- Increase evenly until there are 42 sc.
- Work straight rounds through Round 11, maintaining 42 sc.
- Place the mantle over Joseph and position it so the face remains visible.
- Shape and secure the mantle with a small amount of adhesive where needed.
7. Extend Mary’s Mantle
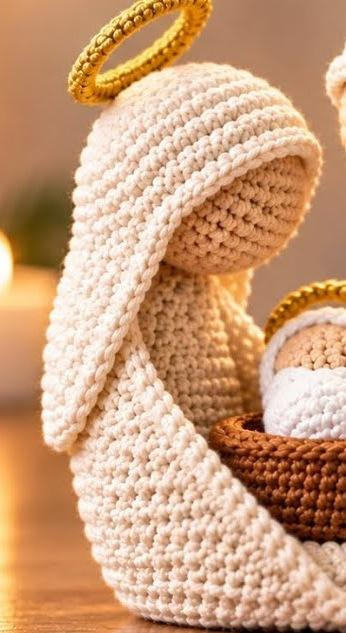
- After the initial mantle section, pick up 25 sc for the next section.
- Work a row with an increase at the beginning and an increase at the end, with sc between them.
- Work the following row with 1 sc in each stitch.
- Repeat a row with increases at both ends, then work a straight row.
- Continue the alternating increase and straight rows described in the tutorial, then work 3 straight rows maintaining the stitch count.
- Work sc along the edges to neaten the outline, fasten off, and hide the yarn tail.
- Position the mantle so Mary’s face remains visible. Fold the pointed ends inward and secure them.
8. Crochet and Cover the Halos
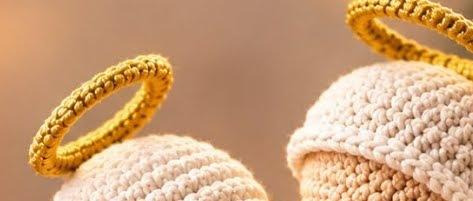
- Use a ring about 3 cm in diameter, or shape one from flexible wire.
- Join gold yarn with a chain stitch and work sc all around the ring to cover it.
- Before finishing, pass a short piece of wire, about 15 cm long, through the ring and fold it.
- Twist the wire gently to make an attachment point, then crochet over the remaining section.
- Join with a sl st in the first sc and fasten off, leaving a tail to wrap any visible wire.
- Shape the attachment point so the halo can be fixed above the head.
9. Assemble the Nativity Scene
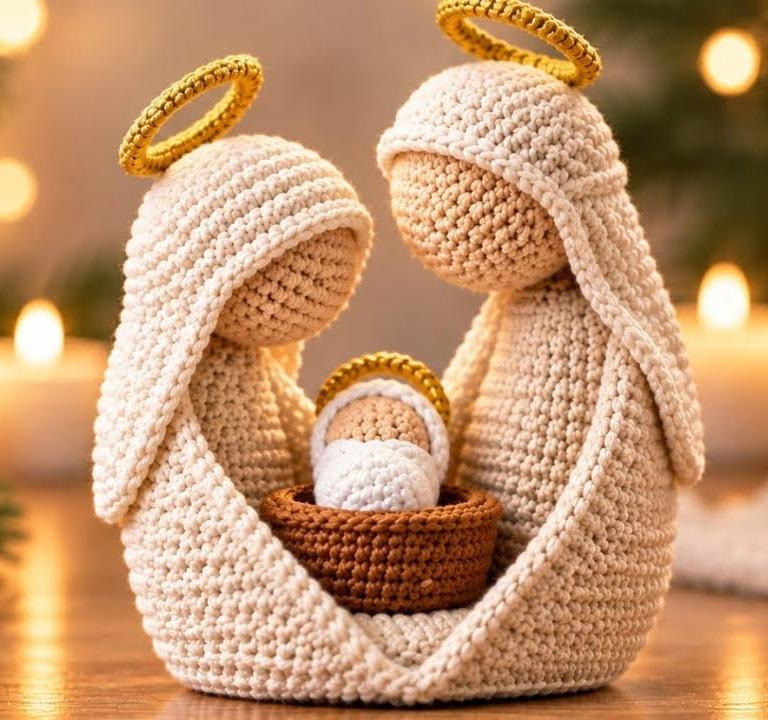
- Place Joseph on the round base first.
- Orient the body with the side containing the decreases facing forward and the straight section at the back.
- Secure the figure to the base with a suitable adhesive.
- Place Mary beside Joseph and secure her to the base.
- Position Baby Jesus and the basket in the center, facing forward.
- Attach the halos above Mary and Joseph.
- Adjust all pieces before the adhesive fully sets so the display looks balanced.
Color Ideas
The original palette uses cream mantles, natural skin tones, white for Baby Jesus, brown for the basket, and gold halos. You can keep this traditional combination or choose a coordinated neutral palette.
- Traditional: cream, natural, white, and brown.
- Soft winter: ivory mantles, beige heads, and taupe basket.
- Gold accents: cream yarn with golden halos and warm brown details.
- Minimalist: two or three coordinated neutral shades.
Tips for a Neat Finish
- Check the circular bases against the base material before shaping the bodies.
- Use a stitch marker to keep track of rounds.
- Cover the wire fully with crochet stitches so it does not catch on surrounding materials.
- Use small amounts of hot glue and let each piece set before moving it.
- Keep the faces visible when positioning the mantles.
- Arrange the figures on the base before gluing them permanently.
Frequently Asked Questions
What yarn is used?
The tutorial uses semi-thick cotton yarn in natural, cream, white, and brown shades.
Which hook size is recommended?
The creator uses a 2.5 mm crochet hook.
How large is the base?
The round base is approximately 8 cm in diameter.
Can I replace the printed base?
Yes. Sturdy cardboard, foam board, or a suitable silicone base can be used.
Can I make the halos without a printed ring?
Yes. Small rings from plastic bottle caps or rings shaped from wire are suggested alternatives.
How do Mary and Joseph differ?
Mary begins with 30 picked-up stitches, while Joseph begins with 40. Mary’s mantle is also extended for a longer drape.
Final Thoughts
This crocheted Holy Family is a thoughtful handmade decoration for Christmas. The separate figures, soft mantles, covered halos, and small basket create a warm nativity scene. Arrange each piece before securing it, and enjoy choosing colors that fit your holiday décor.