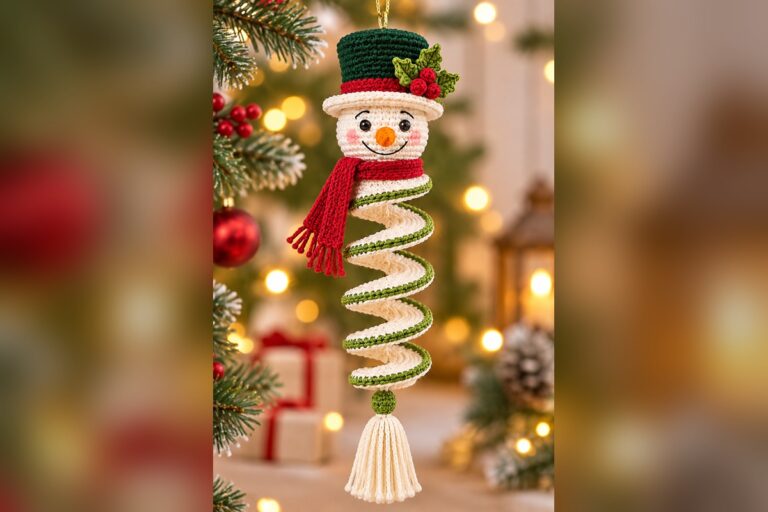
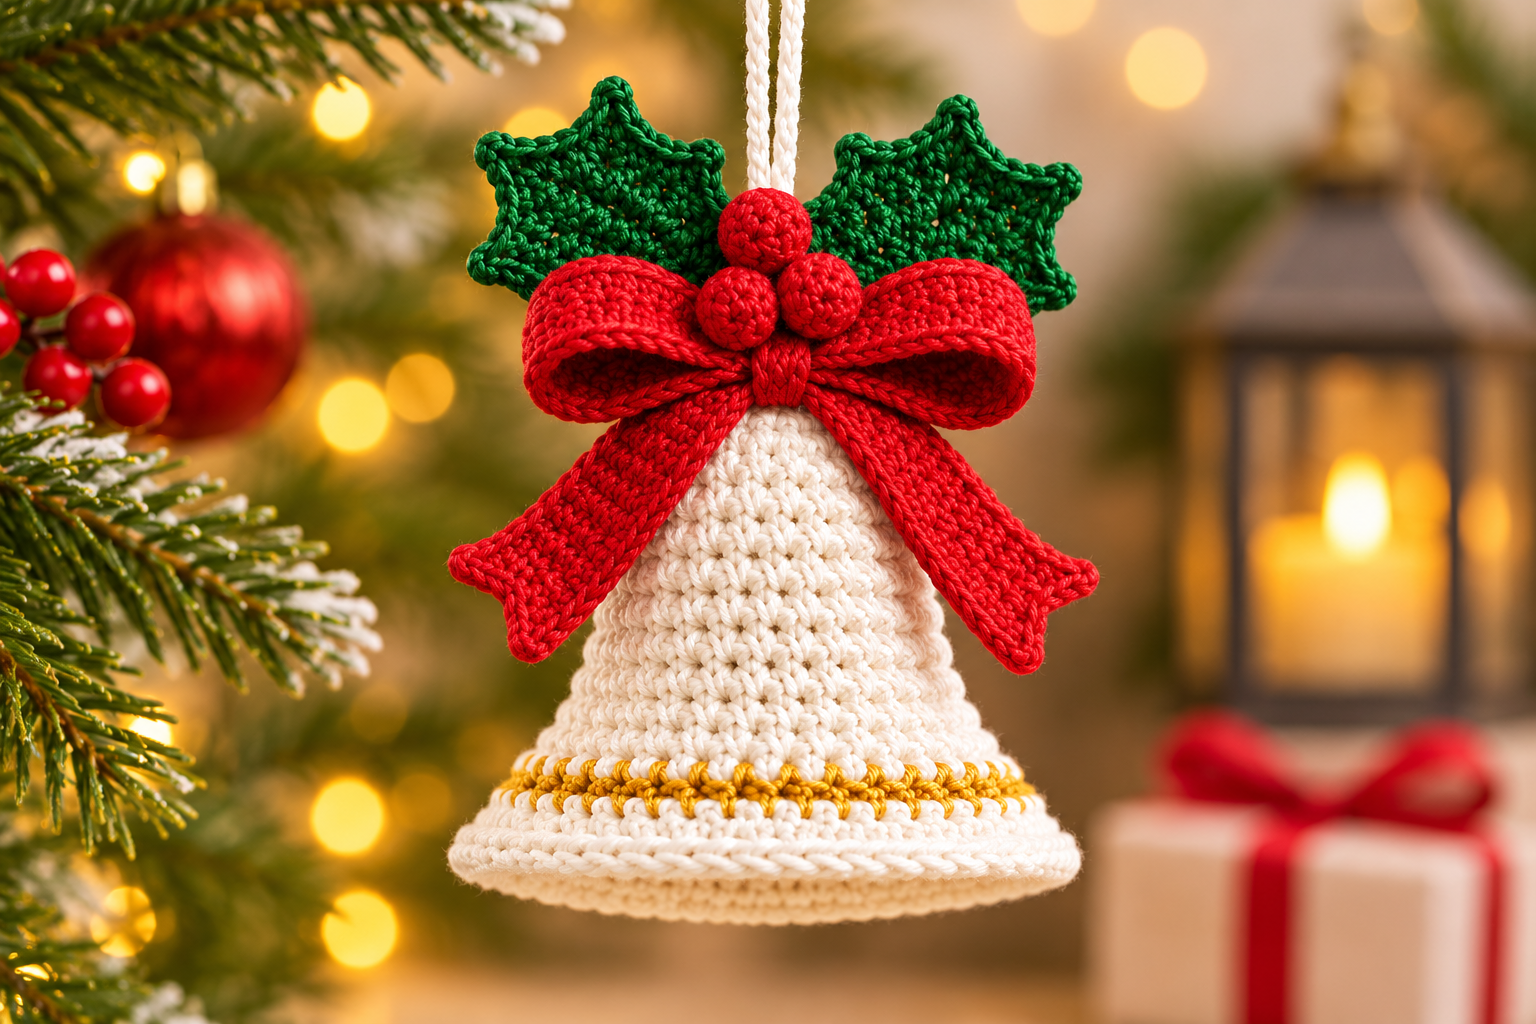
Crochet Christmas Bell Ornament Pattern
A festive handmade tree decoration with holly, berries, a bow, and gold trim
About This Project
This Christmas bell ornament combines a crocheted bell, decorative edging, a layered bow, holly leaves, and three small berries. The steps below are organized from the supplied transcript. The alternate colorway shown in the photos uses cream, deep green, dusty rose, and gold. The stitch instructions and counts have not been intentionally changed.
Color substitutions: dusty rose replaces red for the bow and berries; deep green replaces green for the leaves; cream is used for the bell; gold remains the decorative edging. The transcript says materials can be replaced with suitable alternatives.
Materials
- 100% cotton yarn in cream, dusty rose, deep green, and gold
- A yarn color for the little bell, if using a separate color
- 1.0 mm wire for the leaves
- 3 mm crochet hook suitable for your yarn
- A small amount of fiberfill or other suitable stuffing for the berries
- Yarn needle and scissors
- Hot glue, or needle and thread if you prefer to sew parts together
- Optional hanging loop or small bead
Abbreviations (US Terms)
- ch = chain
- sc = single crochet
- hdc = half double crochet
- dc = double crochet
- sl st = slip stitch
- inc = increase
- dec = decrease
- MR = magic ring
- st(s) = stitch(es)
- picot = decorative chain-and-slip-stitch detail described in the relevant step
1. Make the Bow
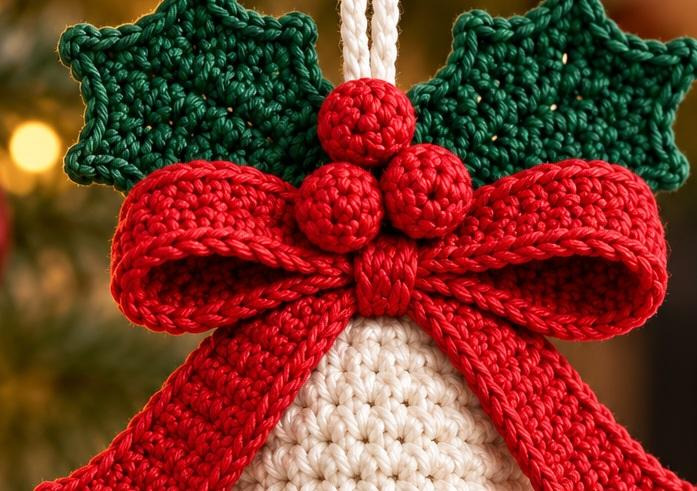
Row 1
- Make a secure slip knot and ch 35.
- Starting in the second chain from the hook, work 1 hdc in each chain across.
Row 2
- Ch 2; in this tutorial, the chains count as 1 hdc.
- Work 1 hdc in each stitch across, keeping the same stitch count as Row 1.
- Secure with a chain. Weave in the starting tail and leave the other tail long for sewing.
- Fold the piece with the wrong side inward and the right side outward. Sew a few stitches to join the piece, keeping the long tail attached.
2. Make the Hanging Decoration
- Ch 35.
- Insert the hook into the third chain from the hook and make 1 dc, ch 1 for a picot, then make another dc in the same chain.
- Work 1 hdc in each available chain until the chain before the last one; leave the final chain unworked for now.
- In the last chain, make 2 dc in the same chain, ch 1 and form a picot with a sl st as demonstrated.
- Ch 3 and join in the same place with a sl st. Ch 3 again, then make 1 dc in the same space, ch 1 for a picot, and make 1 more dc in that chain.
- Starting in the next space, work 1 hdc in each available stitch until the final stitch, where you began. Make 2 dc in that stitch, ch 1 for a picot, ch 3 and join with a sl st; ch 3 and join in the same place with another sl st.
- Secure and cut the yarn, leaving a tail. Weave in the excess, adjust the points, and tuck the chains inward.
- Find the center of the piece, position it in the middle of the bow, and set it aside.
3. Make the Center of the Bow
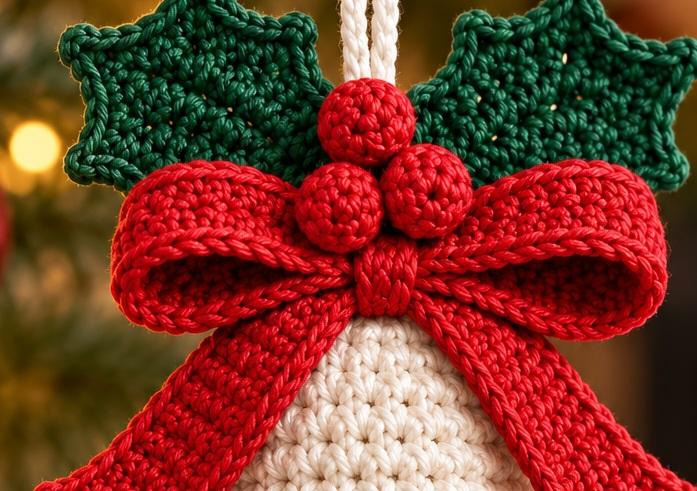
- Ch 10. Starting in the second chain from the hook, make 1 sc in each chain.
- Ch 1 and turn. Work 1 sc in each stitch across, keeping the same stitch count as Row 1.
- Secure, cut the yarn, and weave in the tails at the back.
- Position the bow layers so the upper section sits slightly higher and the hanging decoration remains visible. Sew only through the center section, not through all layers. Shape the center into a slightly oval form.
4. Make Three Decorative Berries
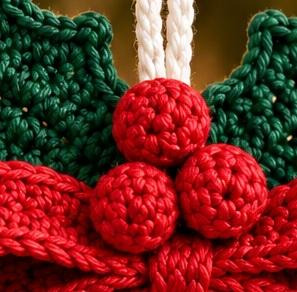
- Make a MR and work 6 sc into it. Pull the tail to close the ring and join with a sl st.
- Rnd 2: ch 1, inc in each stitch [12]. Join with a sl st.
- Rnds 3–4: work 1 sc in each stitch around [12 each round]. Join each round.
- Rnd 5: ch 1, repeat (1 sc, 1 dec) around. The transcript does not provide a final stitch count for this round.
- Fasten off, leaving a long tail for closing. Add a small amount of stuffing.
- Pass the yarn tail through the front loop of each remaining stitch and pull closed. Secure the end.
- Make two more berries using the same steps.
5. Crochet the Holly Leaves
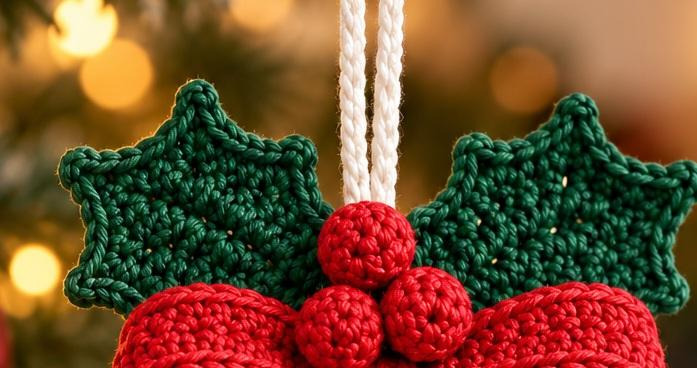
- Ch 10 and insert the wire through the middle of the foundation chain.
- Make a sl st, then work 3 hdc, 2 dc, and 2 hdc, one stitch in each chain as described in the transcript.
- In the final chain, make a sl st, ch 2, and another sl st in the same chain to form the tip.
- Shape the wire gently, keeping it long enough to be inserted into the little bell later.
- Work along the other side of the foundation chain: 2 hdc, 2 dc, 3 hdc, then a sl st. Find the first sl st and join.
- Trim the wire as needed so it does not interfere with the crochet work. Ch 1, then make the decorative picot edging as demonstrated: the transcript describes repeated sc stitches and ch-2 picots along both sides of the leaf.
- Finish by joining with a sl st into the first sl st, cut the yarn without adding extra chains, and twist the wire into shape.
- Make two leaves in total. The transcript demonstrates the detailed picot placement visually.
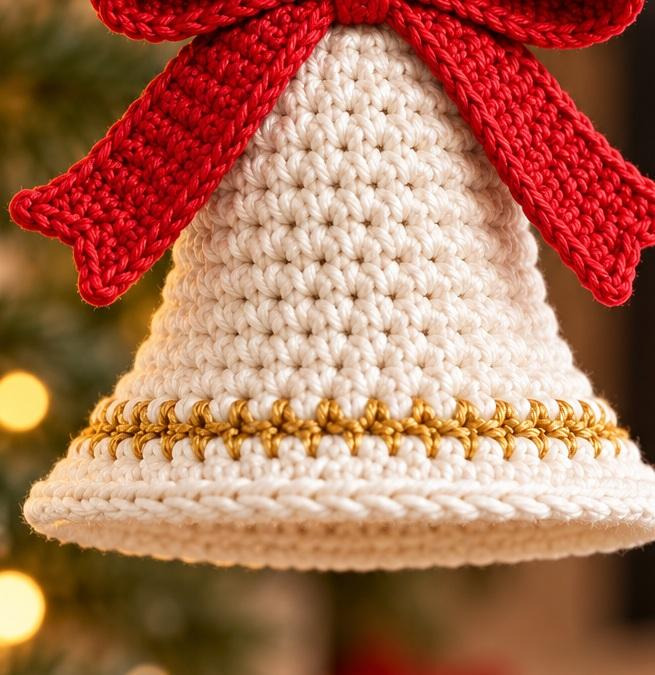
6. Make the Bell
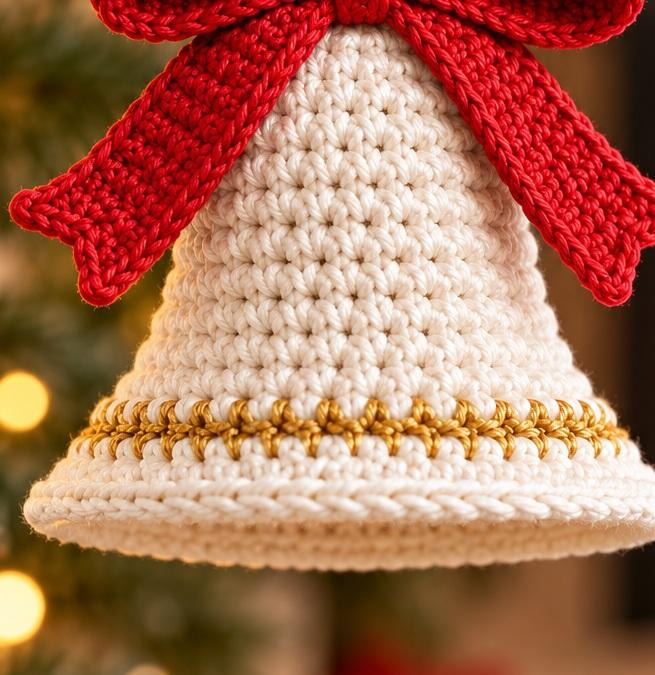
- Start with a MR and work 12 sc into it. Join with a sl st, leaving a small amount of space in the stitch.
- For the following rounds, work in a spiral and use a stitch marker to mark the beginning of each round.
- Rnd 2: inc in every stitch [24].
- Work 7 rounds of 1 sc in each stitch, maintaining 24 sc in each round.
- Next round: repeat (3 sc, 1 inc) around to create the outward flare. The transcript does not state the resulting stitch count.
- Work 5 further rounds of 1 sc in each stitch without increasing, as described in the transcript.
7. Add the Decorative Edging
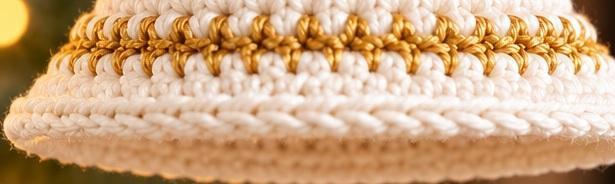
- After the 5 straight rounds, use gold-colored yarn for the decorative edging.
- Work 2 sc in each available space around the round, following the video demonstration.
- Complete the round and join with a sl st. Keep the other carried yarn tail available.
- Ch 3, then work 1 dc in each stitch around to help the bell open outward.
8. Assemble the Ornament

- Position the leaves inside the bell, one on each side, and attach them with hot glue. Let the glue dry before adjusting the leaves.
- Attach the bow in position with hot glue, or sew it in place if preferred.
- Position and attach the three berries. The creator adds a small decorative detail in the center of the bell with hot glue to help shape it.
- Add a hanging loop if desired. An optional small bead can be placed in the center.
- Adjust the parts until the ornament looks balanced and ready to hang.
Finishing Notes
The transcript leaves some stitch placement and shaping details to the video demonstration, especially for the leaf picot edging and the bell’s flared rounds. Follow the linked tutorial for those visual details rather than guessing at missing counts.
All images inside this Word document are standalone photo crops with no text embedded in the image. They are AI-generated visual references for the requested color palette, not photographs of an ornament made from these exact instructions.